The season of Carmine bee-eater colonies will soon be upon us. There are already hundreds of bright red birds chirruping and hawking for insects along the Luangwa River, a sure sign that the identification of suitable nesting sites has started!
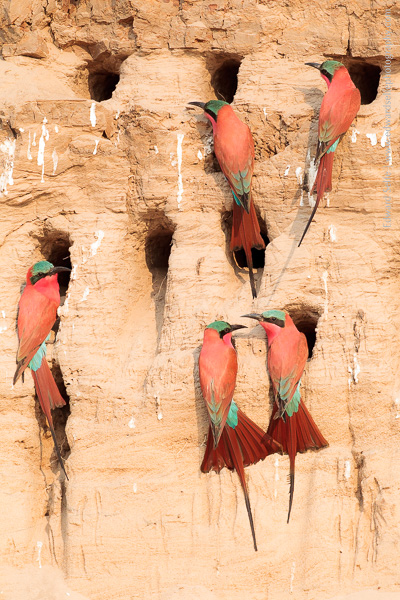
Carmine bee-eaters need steep river banks for their nesting colonies. Ideally they will have water at the base – to prevent terrestrial predators approaching – and be steep enough to keep away predators attempting to climb down from the top. Into this, they will dig long tunnels with a nesting chamber at the end; for this to work, the sand has to be soft enough to excavate but firm enough to keep its structure. Sections of the bank which fulfill these criteria end up hosting thousands of nesting holes.
These birds and their breeding sites are a marvel….but photographing them can be tricky. In this post, we’ll look at a couple of methods of capturing this magic event.
The Colony
Static
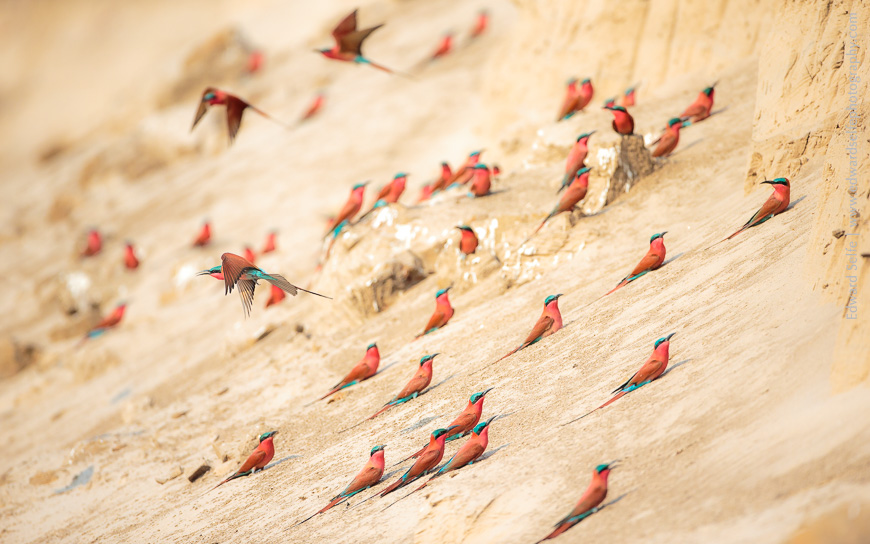
The first option is to position yourself so that the bank, the colony and nest holes are the focus of the image, and the birds are flashes of colour in the scene. Depending on the angle of the light and the layout of the colony, you might be perpendicular to the bank, or looking “along” it.
Dynamic
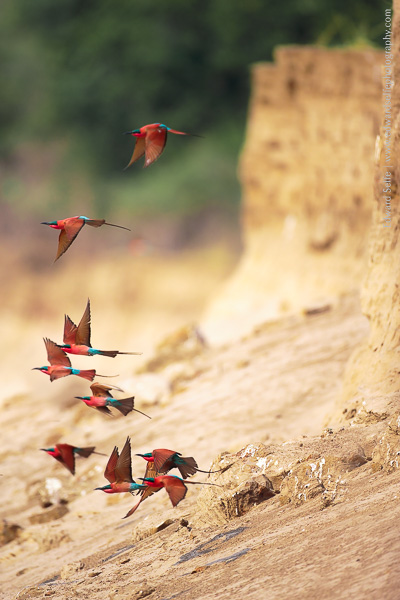
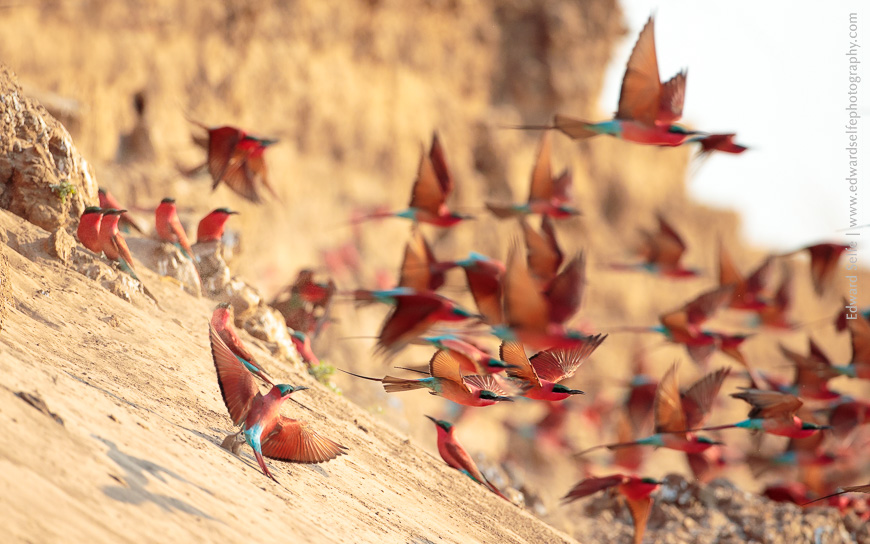
Occasionally, something will scare the birds. It’s usually an approaching baboon or the shadow of a large predatory bird moving across the sand towards them. In a second, the whole colony takes flight in an explosion of rich reds and chirruping calls.
How to do it!
Tracking the movement of this, and achieving accurate focus is hard. However, if you pre-focus on the bank at the distance of the largest congregation of birds, and then be ready to take a burst of shots when they erupt from the bank, you will often achieve beautiful results.
Of course, you cannot predict the layout of the birds in such an event, but you can control the composition of the river-bank which will be the backdrop….so take some time to zoom, shift the frame and examine the static image before you settle on your final composition……..and then wait!
The Birds
Resting
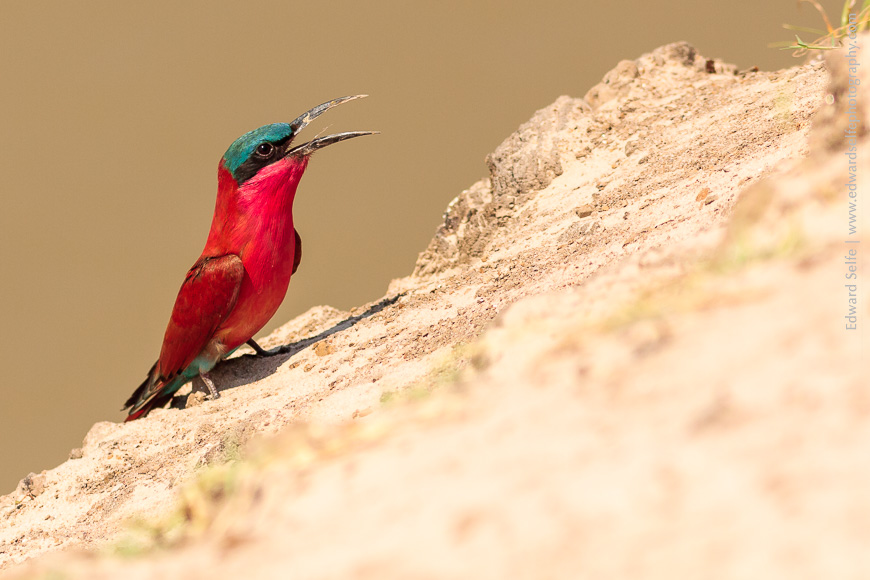
The second option, which is more challenging and perhaps more interesting, is to photograph the birds themselves. They can be photographed singly or in groups along the river bank, making nice portraits.
In flight
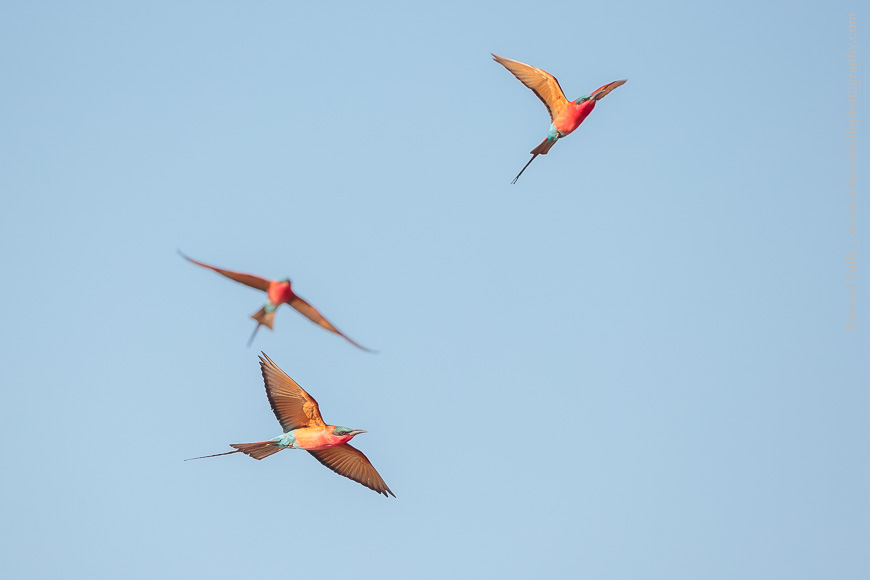
Alternatively, you can try to track the birds in flight as they hawk for insects over the river beyond the bank. These birds’ wings are a rich blend of red – well, actually carmine! – and orange so any photos that show the wings outstretched are a bonus.

How to do it!
Following these birds in flight is extremely hard, especially as you will likely be using your lens at full zoom and your field of view will be small. Before taking any photos, have a look at the behaviour of the birds: it will often be the case that they are hawking over a limited area of river, flying away from you to a certain point, and then banking and returning. Learning where they are banking will allow you to identify individual birds from a distance who are starting their return journey to the colony.
Set your camera to continuous/servo focus (so that it tracks the approaching bird), set the drive to continuous (to allow you to take a burst of photos) and choose a single or small group of focusing points in the centre of the frame. Choose an ISO that gives you a shutter speed of between 1/1250sec and 1/2500sec if you want the wings to be sharp but with a small amount of blur at the tips to convey motion and life.
With these settings, start to follow your target bird’s movement from far in the distance, giving the camera a chance to find the subject, achieve focus and start to track. As the bird approaches, watch for the angle of the wings and start to take shots when the light is hitting them and the bird’s head is still visible: this works best when the bird is flying towards you but at an angle to you.
It may be that your images are too dark, depending on the lighting conditions and the brightness of the background: if so, increase the exposure compensation to +1. It may also be that your camera is not achieving sharp focus – this is pretty normal as you are asking a lot of the system! You can counteract this by closing your aperture one stop (perhaps to f8) to increase your depth of field and give you more chance that the bird will fall in that field of sharp focus. However, keep in mind that both +1 EV and closing the aperture will require more light, so you will need to increase the ISO accordingly.
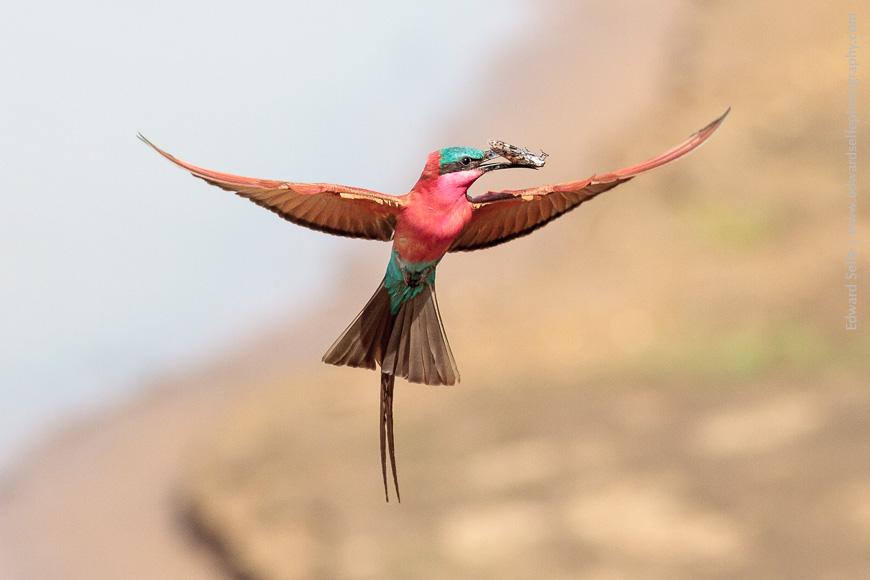
You can also try to see where the birds pause and hover before approaching their nest holes. At this point, while the wings are still in motion, the bird is almost static, making it easier to keep the bird in the frame. When “on final approach” the birds usually pause around 2 meters from the nest holes and this offers a great chance to catch them in flight.

Approaching the colony
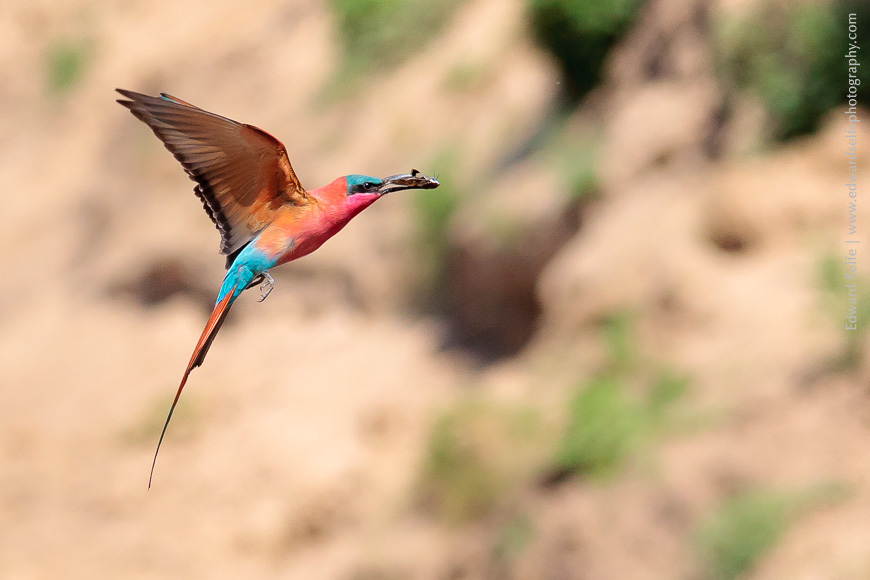
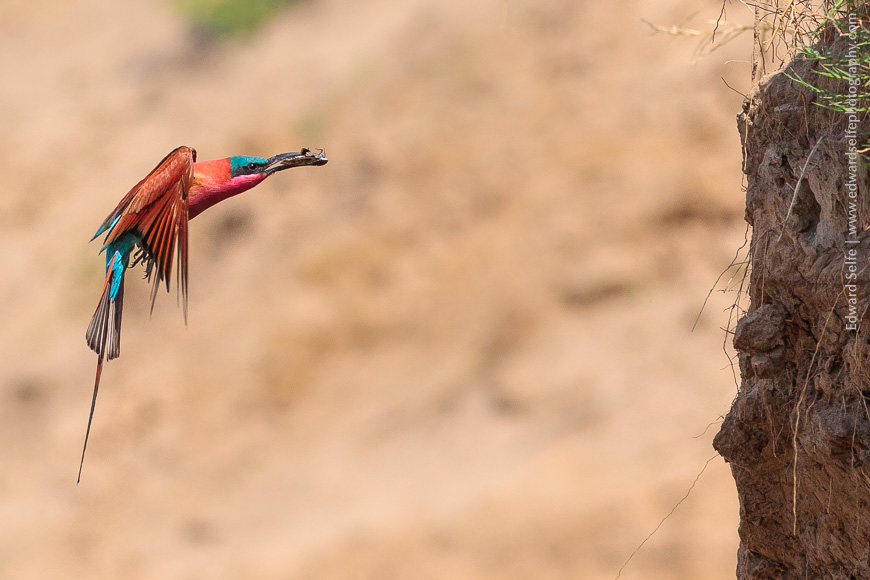
The final option – and the best in my mind – is to photograph the birds in flight as they approach the nesting holes. This tells the whole story as makes for the most engaging images. However, as you would expect, it is the hardest to achieve!

How to do it!
I sat and watched a colony for some time, and saw that birds arriving at a particularly dense area of nest holes seemed to pause for the longest period before landing on the bank by the hole. I guess this was because they took a fraction of a second longer to locate their own nest hole among so many others. This gave a valuable extra period when I could achieve focus, snap some shots and keep the bird in the frame. By keeping the bird in the centre of the frame and taking a series of shots, I could choose the best one…in this case when the bird’s wings were up and the nest hole was visible in the frame on the right hand side!


The Birds
There’s no doubt that Carmine bee-eaters are one of Southern Africa’s wildlife highlights, but capturing them on camera in an interesting way is certainly difficult. Knowing how to set up your camera, how to track the movement of the birds and where to position yourself for the best chance of success will make a big difference!

