Wildlife photography is a rich and complex subject. A professional can take a lifetime perfecting his art, trying new ideas, pushing his equipment to the limits and seeking that one moment which will make his name. However, whoever they are, and wherever they live, they will have learned about obtaining accurate focus and how to do it every time.
Modern cameras have outstanding auto-focus systems. They can obtain focus fast, accurately and in very low light levels. But they are also highly customisable and if you don’t set them up correctly they can give unpredictable results.
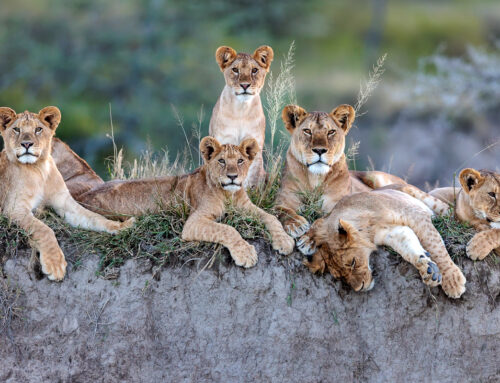
For wildlife photography, using a single focus point is usually best; you can then select which of your camera’s focus points (they have between 6 and 75!) you want to focus with at a given time. This will allow you to compose your image however you like; do you want to place the lioness in the bottom left of the frame? No problem, select the focus point in the lower left of the viewfinder, place it over the lioness and snap away. Using a single focus point like this will nearly always give you better results than allowing the camera to choose which of its focus points to use – sadly cameras can’t yet tell a lion from a tree, river or bush!
Things to watch out for:
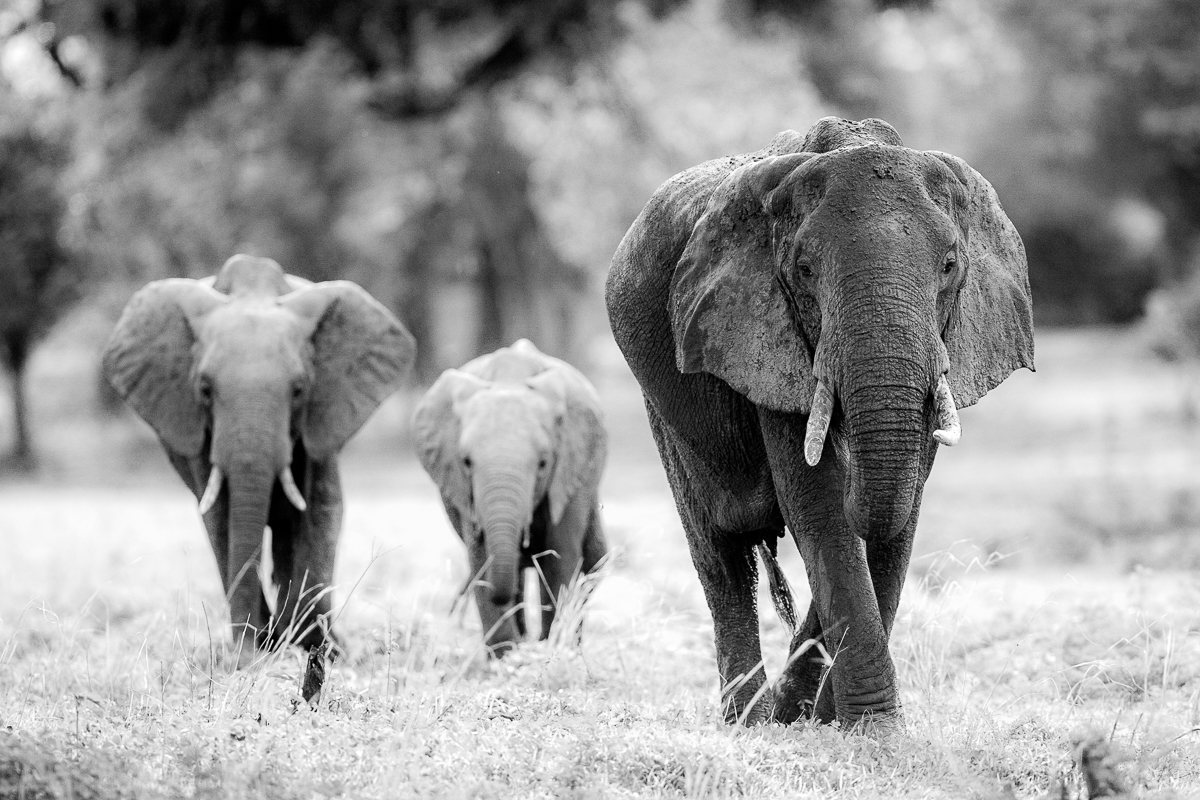
– the camera achieves focus by looking for areas of contrast (a zebra’s stripe for example) and maximising the difference between dark and light. Therefore, focusing on areas of contrast will give you more accurate focus results – e.g. choose to focus on a lion’s face rather than its flank which has only flat-coloured tawny fur.
– the central focus points on your camera are more sensitive and accurate than those around the edge of the frame. Use these central ones when light levels are low (and contrast is reduced) or when your camera is having trouble achieving correct focus.
– the small screen on the back of your camera can be deceptive. Zoom in on images to make sure they are in focus.
– don’t mistake focus for sharpness – if your image is out of focus, something other than your chosen subject will be in focus; if the image contains movement blur, nothing will look sharp.
Good luck and enjoy your photography!
Comments
For moving subjects, I always use AI SERVO and have an active focus point over the face/head/body when I take my shot. Focus and recomposing on moving subjects is risky, unless they are moving absolutely perpendicular to you. When the light is poor, and the peripheral AF points are not accurate, I sometimes use the central point to get my shot, even if the composition suffers – it depends on how much I want the shot! When the light is poor, I also sometimes wait until the subject stops, and then employ a focus-and-recompose technique using the central AF points.
With static subjects, I do use the focus-and-recompose option more frequently, especially when I want to position the subject beyond the span of the focus points (which is smaller on my full frame cameras). But I am always very careful how I do this, and I don’t do it if there is any way of having an active AF point over the subject instead. I don’t focus and recompose on very close subjects as a very small adjustment to the focal plane can cause chaos with the image, leaving you with nothing usable.
I also sometimes focus and recompose using the central focus points when something happens quickly and I don’t have time to move my focus point. I will grab a shot and then if I have time, move the AF point and re-shoot. I usually leave my AF point in the middle when the camera is not in use so that it is the shortest possible distance to move it to get to anywhere in the frame.
I hope this helps you with your query. Good luck!
Edward
Any comments on filters? I’m looking to add a circ. polarizing filter and/or a ND filter to my sigma 150-500.