The use of cropping in wildlife photography has often suffered bad press. How many times have you heard, “Oh, but he must have cropped that”, or “That’s heavily cropped!”…? Certainly there are times when a crop has been over-used, or used in the wrong situation, and the poor result is often immediately obvious. In this blog, we’ll look at what a crop is, how to use it to your benefit and how to avoid the pitfalls.
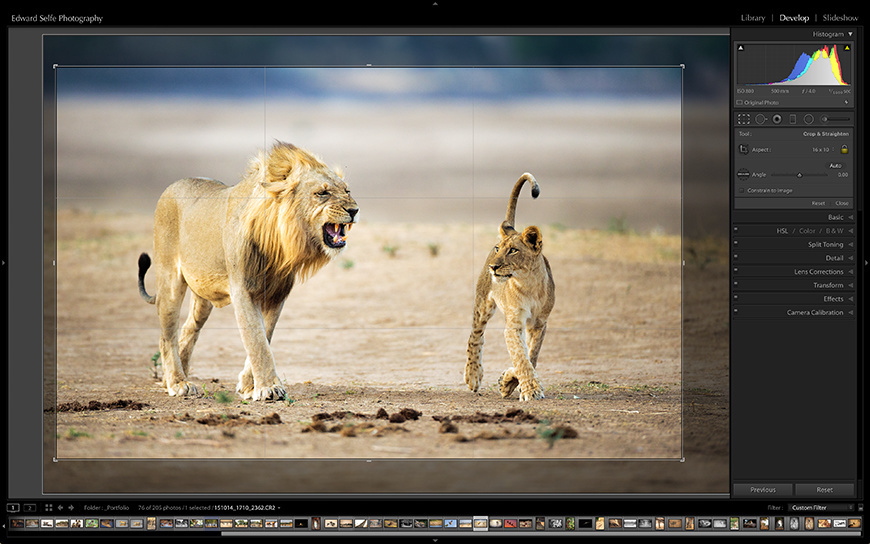
Cropping an image removes unwanted areas of the image to improve the overall effect. I am going to start with the Benefits and Drawbacks of using the crop tool and then work through a few examples later on. So why would we choose to crop an image?
- To remove unwanted elements that distract from the main subject – in wildlife photography you definitely do not have full control of all the elements in your scene. It might be that just as the perfect lion interaction occurs, a dove flies across the background of your image! Being able to crop a sliver off the top of the image to remove this visual distraction is most helpful.
- To increase the apparent size of the subject – cropping off the edges of an image to “enlarge” the central subject is a common trick, and with cameras that have high resolution, it can give a good image of a subject that you could not get as close to you as you wanted.
- To change the composition of the image – cropping for composition is a very popular method of improving the impact of your image. Perhaps in the heat of the moment, you were not able to move the frame, or the auto-focus point, exactly how you wanted to, so you can crop the unwanted areas of the image to improve this afterwards. Of course, you cannot regain canvas that was never there in the image, so this is not a substitute for good technique.
- To adjust the image’s shape or to fit a required purpose – some choose to crop an image to fit a more aesthetically-pleasing aspect ratio (the aspect ratio is the image’s shape, as defined by its length on the short side as proportion of the long side) such as 3:2 or 16:10 or 16:9 or 4:3 or even a panoramic crop. Sometimes it’s necessary to crop an image to make it fit a double-page spread in a magazine, or a banner along the top of a website or poster.
As I hinted at above, there are some negative impacts of cropping too which we should look at:
- Cropping reduces the overall size of your image, removing pixels and valuable data. If you are working with a 20 megapixel file (5,000 pixels x 4,000 pixels), and you crop off just 10% of the width and length, you will lose nearly 20% of the image’s pixel count, leaving you with just over 16 megapixels.
- Heavy cropping reduces the file-size dramatically, leaving the resulting image unsuitable for printing and enlargements. The effect of this may well be visible to a viewer in the form of softness, pixelation and lack of detail.
- Relying on cropping to make up for poor compositional technique is not advisable. While it is fine to do so occasionally – perhaps when your had to get the shot in a hurry – it’s much better to practice composition and adjusting your focusing points quickly so that you can include more canvas on the original image.
So we have looked at the benefits and pitfalls of cropping. Surely I would not have taken time to write an article on something that I advise strongly against? No, absolutely not. I use cropping in many of my images to remove distracting elements from the edge of the frame and to improve the shape and feel of the scene portrayed.
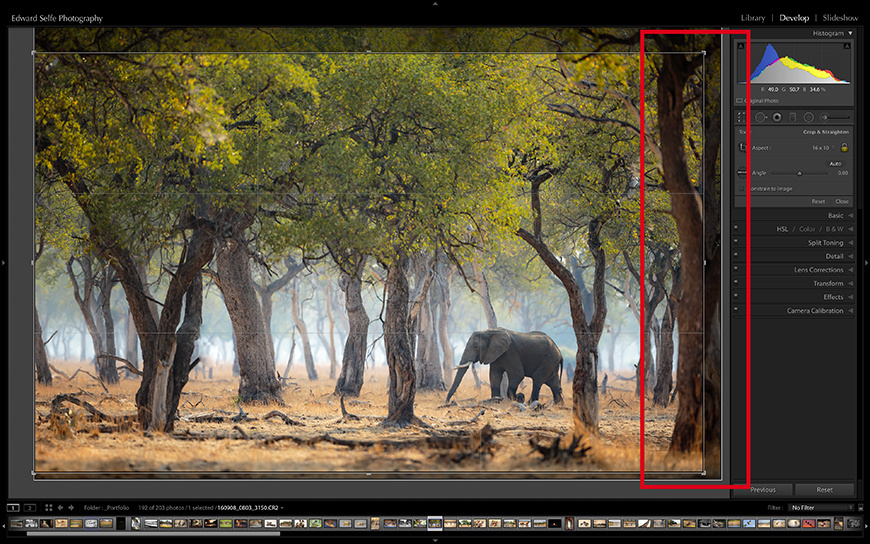
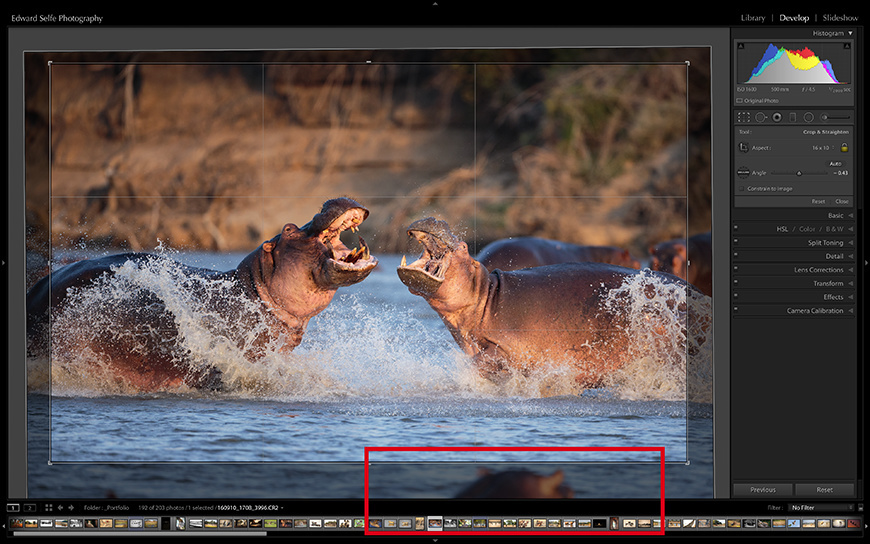
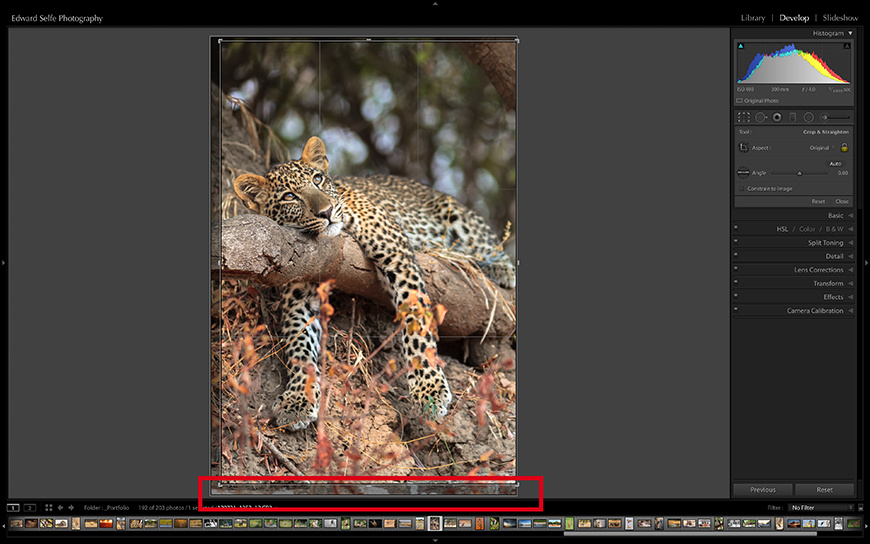
Firstly, I will look at cropping to remove unwanted elements from the edges of images. I always look around the edges of my frame as I am composing my shots, and try to remove anything that I don’t want by zooming in or moving the frame. But if I have to move quickly, or I’m using a prime lens, I am not always able to do this. So cropping afterwards it beneficial. Here are a few examples with annotations.
Secondly, we’ll explore times when using a crop can help with the composition of the image. I mentioned above that this is not best practice – and certainly improving technique is preferable – but we all need a bit of help sometimes!
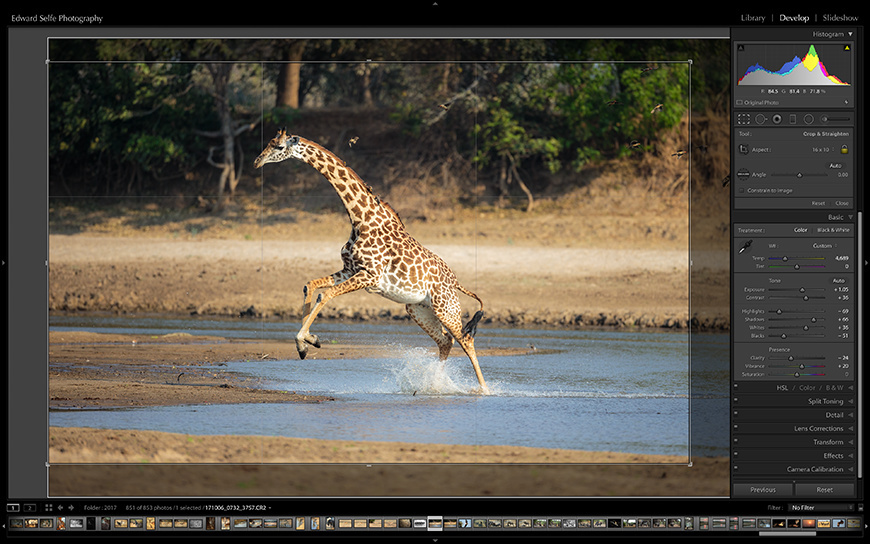
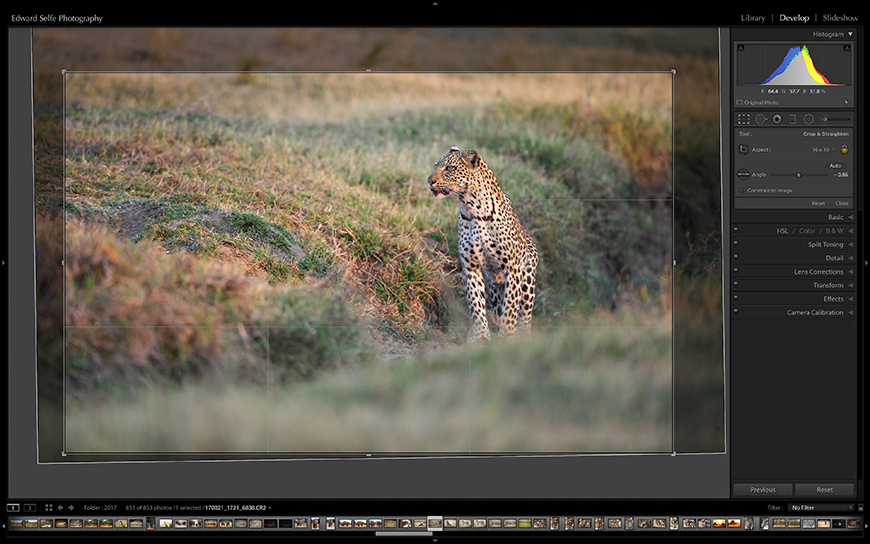
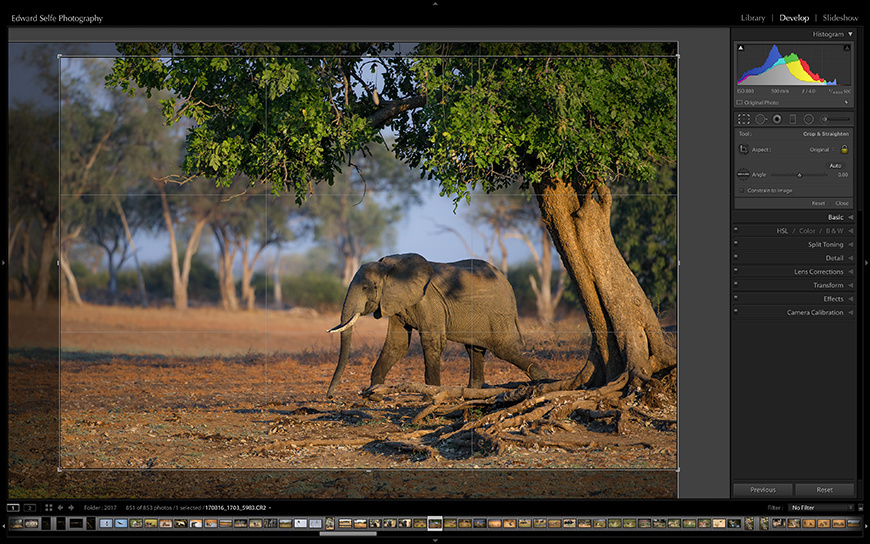
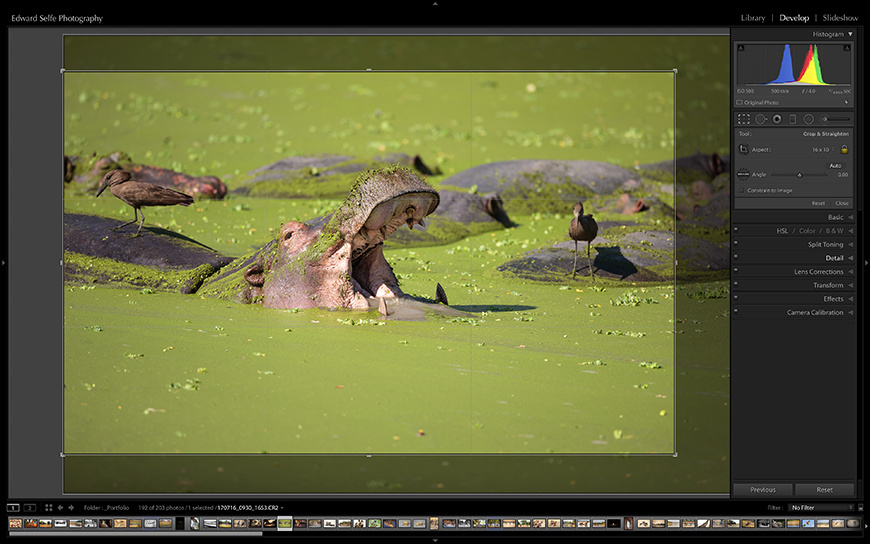
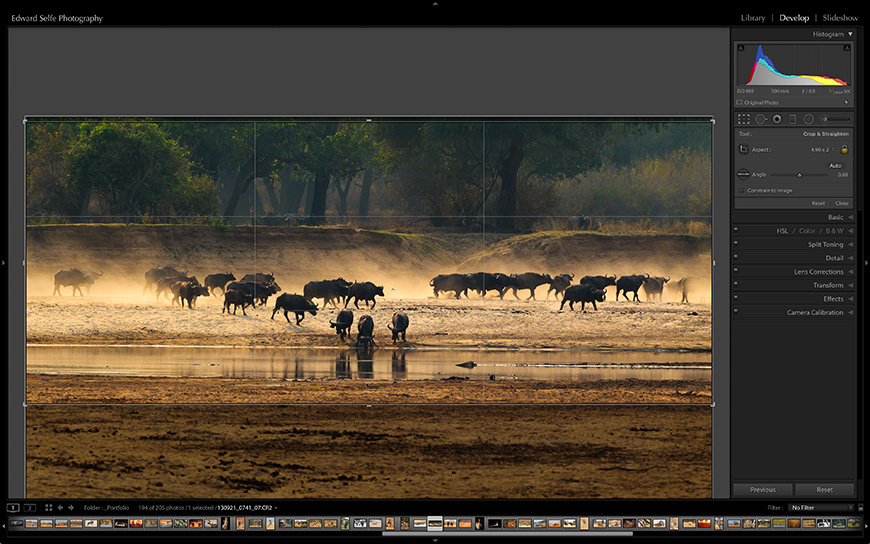
Finally I want to look at cropping for improved shape and feel. Scenery and wildlife photographers take the majority of their images in landscape orientation; out of 4,309 images in my folders, only 862 – around 20% – are in portrait mode. My camera produces images which are 3:2 in aspect ratio. I like this shape for portrait-orientation images, and find that my style of photography works well with this. However, I tend to prefer a wider, flatter, more panoramic image shape for my landscape-orientation images, and I nearly always crop my 3:2s to a 16:10 ratio.
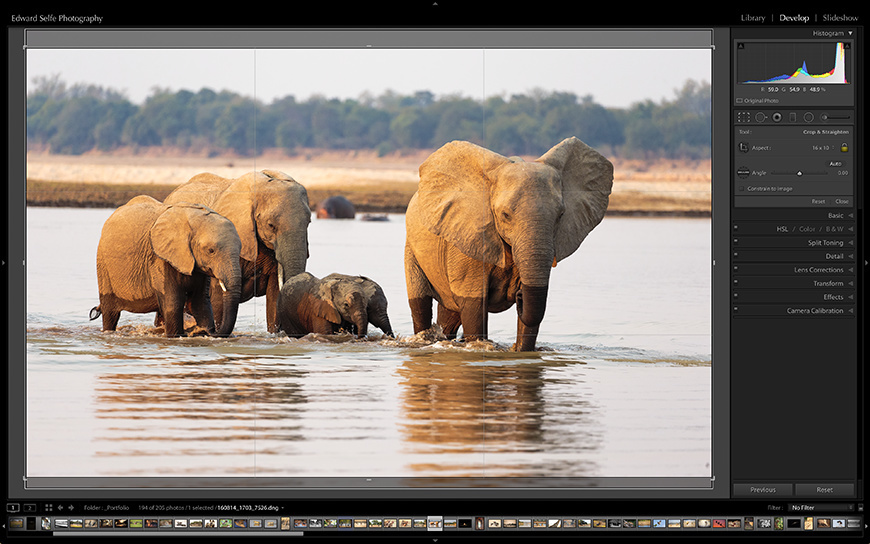
But, as well as removing unwanted canvas, I think the 16:10 crop actually improves the shape and feel of the image, perhaps increasing the impression that it is taken in a wide, open space, and that there is a panoramic quality to the surroundings. I have been using this crop more in wildlife photos over the last few years, finding that it suits the environment that I work in and the style of photos that I take. Here are a few more examples, showing the original image and what has been cut off….
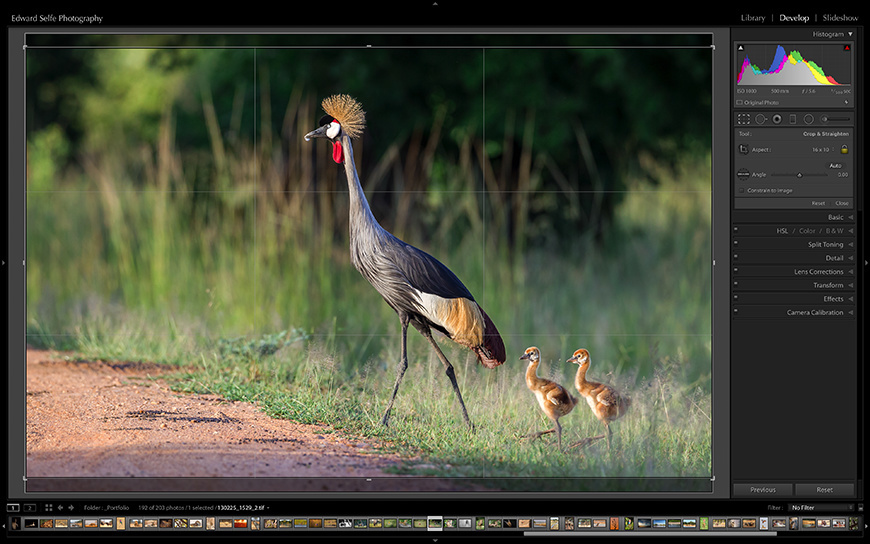
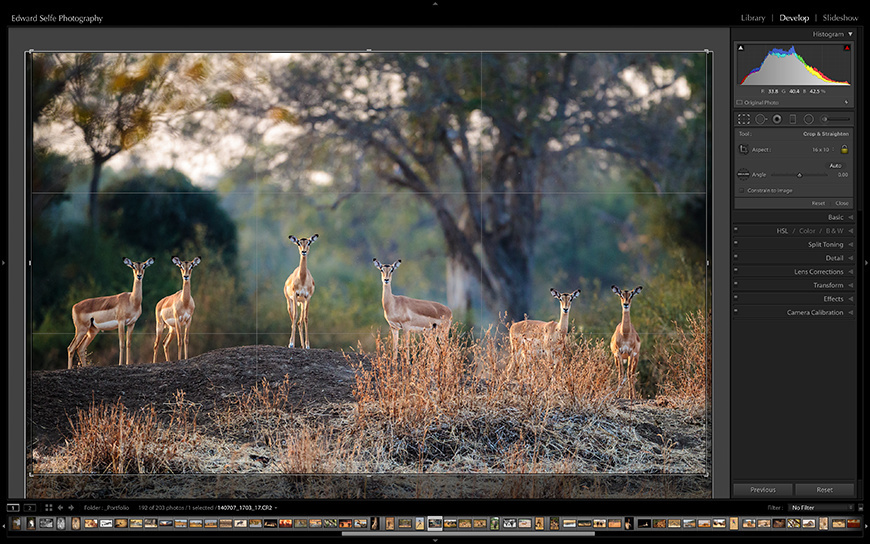
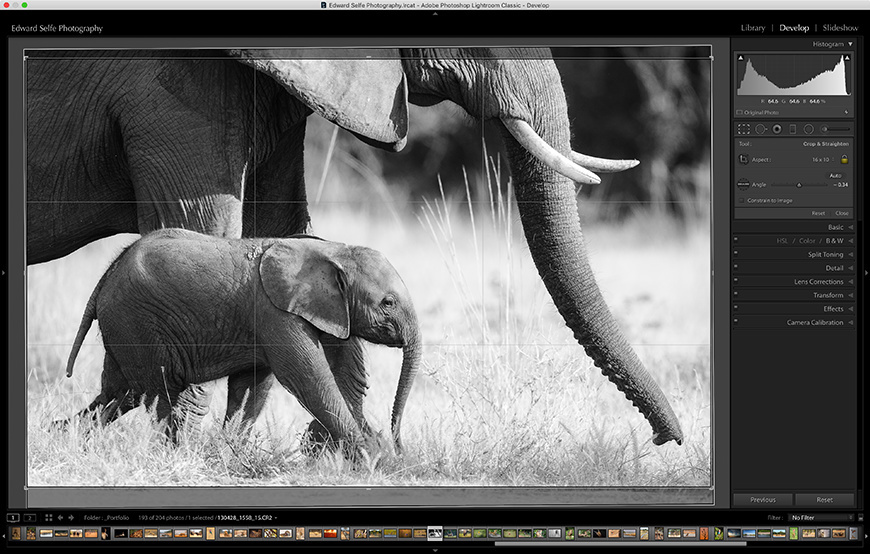
So we have looked at the reasons for cropping, the pitfalls and risks of doing so, and some of the situations where it has worked for me in my images. I know that there are some photographers who prefer the 4:3 shape and some that swear by 16:9….whatever your personal preference for the shape of the final image, make sure that you are cropping for effect, not to remedy miscalculations in the field….or at least not all the time! We all get it wrong occasionally!
Thanks for reading, and as, always, please ask any questions in the section below.

