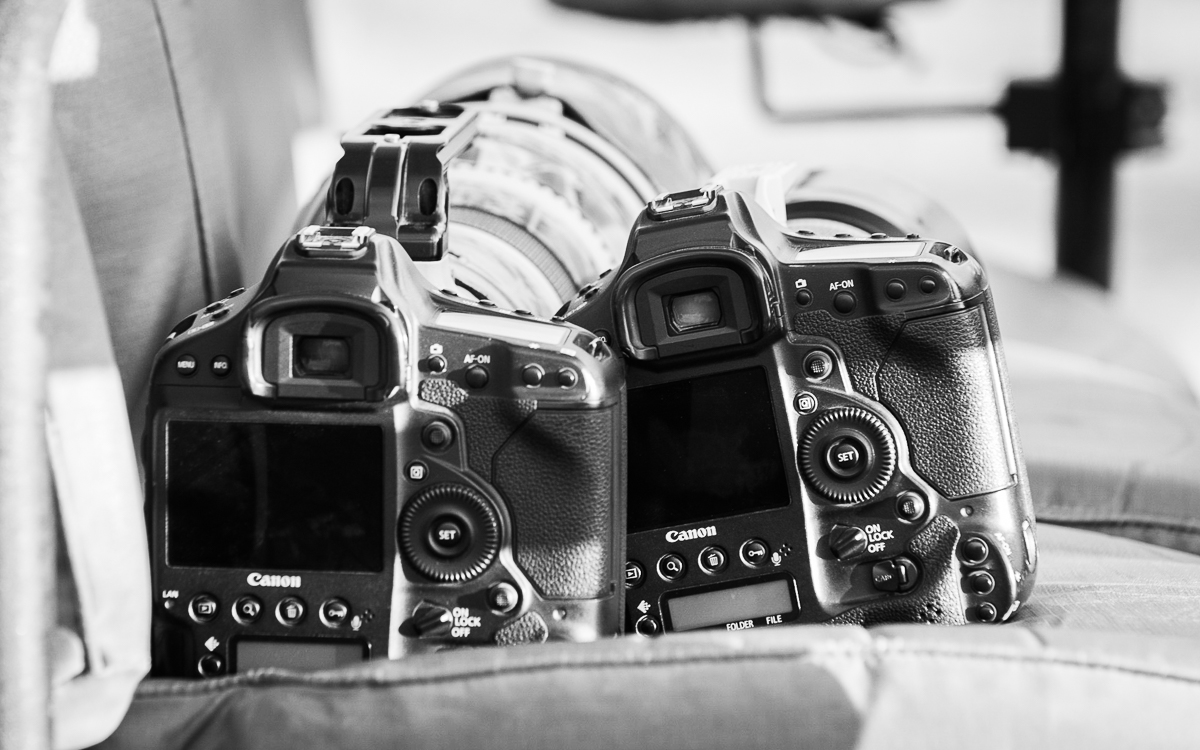
I have written at length in the past about how I use Aperture priority as my preferred camera mode for photo safaris. In this blog, I thought I would share my whole camera set up for those wondering how to make the best use of their camera’s capability on safari. This post contains more text and fewer photos than my normal updates, but I hope the content is useful!
For the last 10 years, camera manufacturers have included custom modes on many of their cameras. On Canon’s system, these are labelled C1, C2 and C3 and are either accessed via the circular dial on the top of the camera, or by pressing the mode button and rolling the top dial to select. This enables the user to save a whole bank of settings that can be recalled immediately; Canon bill it as having a different camera in your hands each time you change the mode!
I make use of these custom modes to allow me to change my cameras quickly to deal with whatever situation occurs. Instead of having to change a variety of settings to prepare for night time shooting (including WB, metering and ISO), I simply select my night time custom mode and all the settings are saved in the camera already.
Setting up these custom modes requires some work but the payoffs are worth it. Step-by-step instructions for setting these up is beyond the scope of this article (and can be found in the camera’s manual) but the basic principle is:
- choose how you would like your custom mode to behave (i.e. would you like a Aperture Priority custom mode?) and select that mode on your camera;
- choose all the settings that you would like saved in your custom mode (e.g. exposure compensation, ISO, white balance, aperture value, focus mode, frame rate etc),
- “register” these settings as your chosen custom mode.
- when you now select the chosen custom mode, all the settings that you selected in the previous step will appear there,
- you can repeat these steps for as many custom modes as your camera allows.
I use 4 of the possible 7 modes available on my camera. I use Av, C1, C2 & C3; I do not use M, Tv or P since they do not suit my preferred style of shooting. I use Av for normal daytime photography, C1 for night-time photography with a spotlight, C2 for filming & C3 for panning blur shots.
There are some settings that are common to all my 4 modes – I shoot in RAW, I use the highest frame rate that my camera will allow and I use AI Servo (continuous) focus mode. Beyond this, each of the 4 modes is set up slightly differently, depending on the purpose of that mode.
Av Mode (for standard daytime photography):
This mode is set up as a standard aperture priority mode, whereby I choose my preferred aperture and use the ISO to control my required shutter speed. I select Auto White Balance, Evaluative (Matrix) metering and I use a single focus point, with 4 supporting points around it.
This works well for standard daytime photography; I choose a wide f-stop and I monitor my shutter speed to ensure that it is high enough for any situation that presents itself. As the light increases or decreases, I adjust the ISO to counteract this. Auto WB works well most of the time and, when the camera gets it wrong, I can tweak it in editing. I have come to learn how the metering behaves in Evaluative (Matrix) so that is my preference. Using a single AF point with 4 supporting gives me enough focus accuracy without the risk of surrounding objects competing for focus.
C1 Mode (for night-time photography):
This mode also functions as an aperture priority mode, but I set the ISO to 6400 as standard and the widest aperture possible for the lens. I choose Tungsten White Balance, Spot Metering and a single focus point with 4 supporting points around it.
This mode performs similarly to the daytime version; but setting it as a custom mode avoids me having to change the WB, metering mode and ISO each evening (and back again each morning!) which is tiresome and easily forgotten! Spot metering ensures that the large areas of unlit black around the subject are not considered in the metering process.
C2 Mode (for filming) [this may not be relevant on modern cameras that often have a bespoke filming set up when switching to movie mode…in which case I would use this for birds in flight]:
I set this up as a shutter speed priority mode, with a shutter speed of 1/30sec and AUTO ISO. Metering is Evaluative (Matrix) and White Balance is Auto.
Filming perhaps requires a blog of its own, but for now, we accept that film requires a slow shutter speed of 1/30 – 1/50 sec. With such a slow shutter speed, images will be overexposed so I allow the camera to set a combination of ISO and A that will give correctly exposed video. I can add exposure compensation via the +/- button if needed. It is the fact that you only need a very slow shutter speed in filming that allows good videos in much less light than good photos can be made.
C3 Mode (for panning blur photography):
This is also a shutter speed priority mode, with a shutter speed of 1/60sec and AUTO ISO and A to balance the shutter speed and aperture. I select zone AF with 9-12 active AF points and Evaluative (Matrix) Metering.
This mode is set to create intentional blur in images of moving animals and birds. It is also a starting point and often needs to be adjusted. 1/60sec is roughly right for most moving animals and birds, provided you pan with the animal; adjustments might be needed for very fast or slow moving creatures, but the AUTO ISO will balance any changes that you make. Zone AF helps me keep a fast moving target in focus.
It’s clear from this explanation that I require my camera to behave in 4 very different ways depending on the scene. It would be very hard to change the settings quickly from standard daytime shooting to panning motion mode, for example. I would have to change the shutter speed, the ISO and the aperture, as well as choosing a different set of AF points. With the custom modes, I can quickly switch between the two by changing the mode dial. In fact, during one 10 second sequence of wild dogs chasing impalas, I have managed to take sharp shots of the dogs running (using Av Mode) and then switch to panning mode (C3) and create some motion blur shots too. In the heat of the moment, having all these options available via one mode dial is very helpful.
Canon and Nikon’s way of implementing this function is slightly different, but they both offer the capability. It’s worth researching and learning how to set it up on your camera, and I’ll certainly help you on arrival in Luangwa if you are still perfecting the settings. Learning about these custom functions about 6 years ago has changed my ability to create a variety of shots from one sighting.
Thank you for reading to the end, and please ask any questions if you have them. I will happily answer in the comments section below so that everyone can read the response.